Mix, apply, and let your foot and the shoe do the work.

Visual Overview
1. Prepare Spacers (Optional)
If you already wear gel toe spacers, start by outfitting them with the included stretch fabric sleeves so that the moldable impression material can “grab” the spacers and anchor them in the insert, forming one integrated piece. The same sleeve can be used to adapt two common styles of gel spacers.

2. Open
Open one set of jars of moldable impression material (one jar of turquoise, and one jar of white). You can choose how much of the putty you want to use.

3. Mix
Knead the turquoise and white putty until the colors blend… about 30 seconds.

3. mix (continued)
Once the colors are blended fairly uniformly (shouldn’t take more than 30 seconds), you're ready to go.

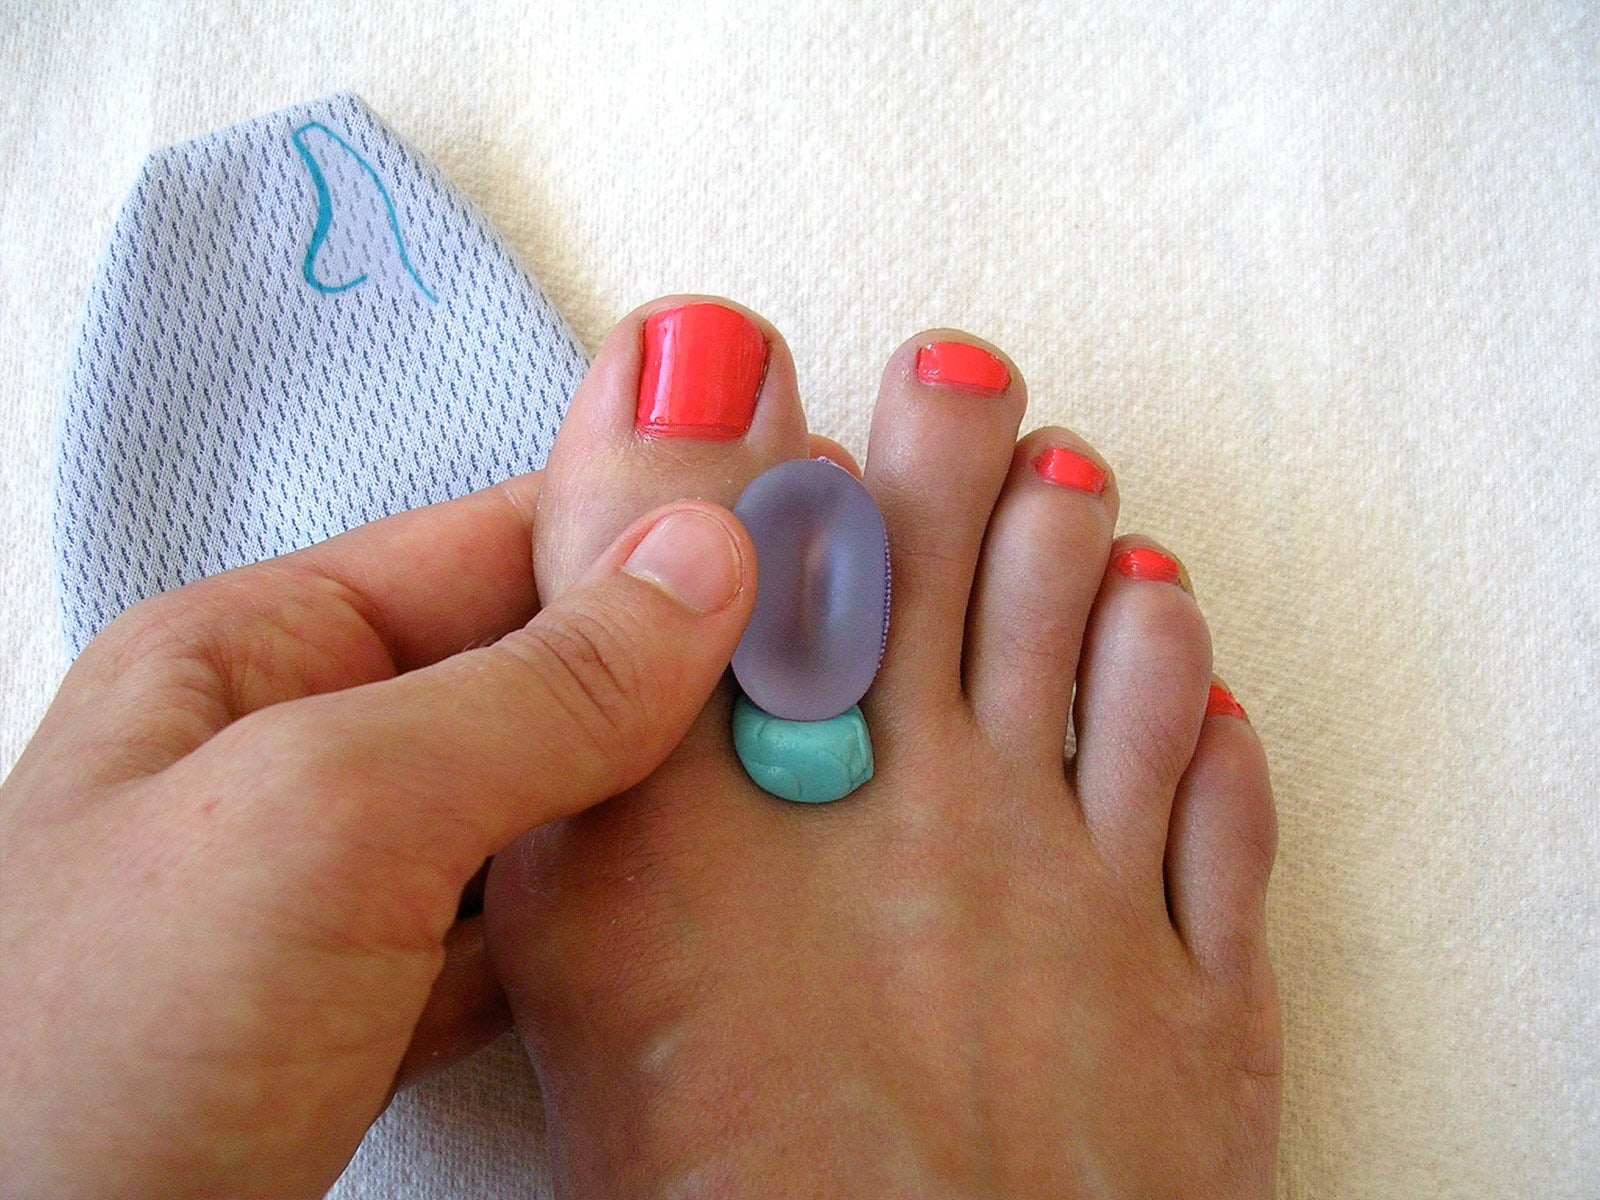
4. Insert spacer (optional)
Put a little material in the crook of your toes first, and then insert the spacer.
4. Insert spacer (continued)

5. Apply
Wrap the material over the tips of the toes, being sure to cover any known pressure areas (remember, the material will flow away from these spots, but will fill the space around them and thus reduce pressure)

5. Apply (continued)
Also add a bit of material on the underside of the spacer (if wearing one) to help anchor the bottom of the spacer to the fabric cover.

6. Fabric cover
Put the fabric cover over the top.

7. Cover + insert
Put the plastic bag loosely over your foot, and insert it into the shoe.

7. Cover + insert (continued)
The material will start squeezing out… this is what we want! It will self-adjust in terms of volume to fill only the voids in your shoe.

8. Let mold
Alternate between standing on pointe and on flat (rolling through demi) for approximately 5-7 minutes. The moldable material will flow to the voids in the box and mold very precisely to the shape of the toes, continuing to self-adjust and equalize pressure until the material cures.

9. Remove + trim
After the material seems firm (a quick squeeze of the escaped material should help you determine when the insert is finished curing), remove and simply cut along the line of edge of the fabric cover.

Congratulations!
You now have a completely customized insert to adapt your unique foot to fit the inside of your shoe precisely, which will offer unparalleled comfort and support.